Thanks to 3D Printing, nowadays you can design and fabricate a custom case for your electronic projects. Back in the old days you were limited to prefabricated cases that you could by from your local electronics dealer. And these cases were simple square and unpleasant boxes. 3D Printing is a game changer. Now it is possible to create a perfectly fitting case that not only protects your hardware, but also is specially designed for the intended purpose of your product.
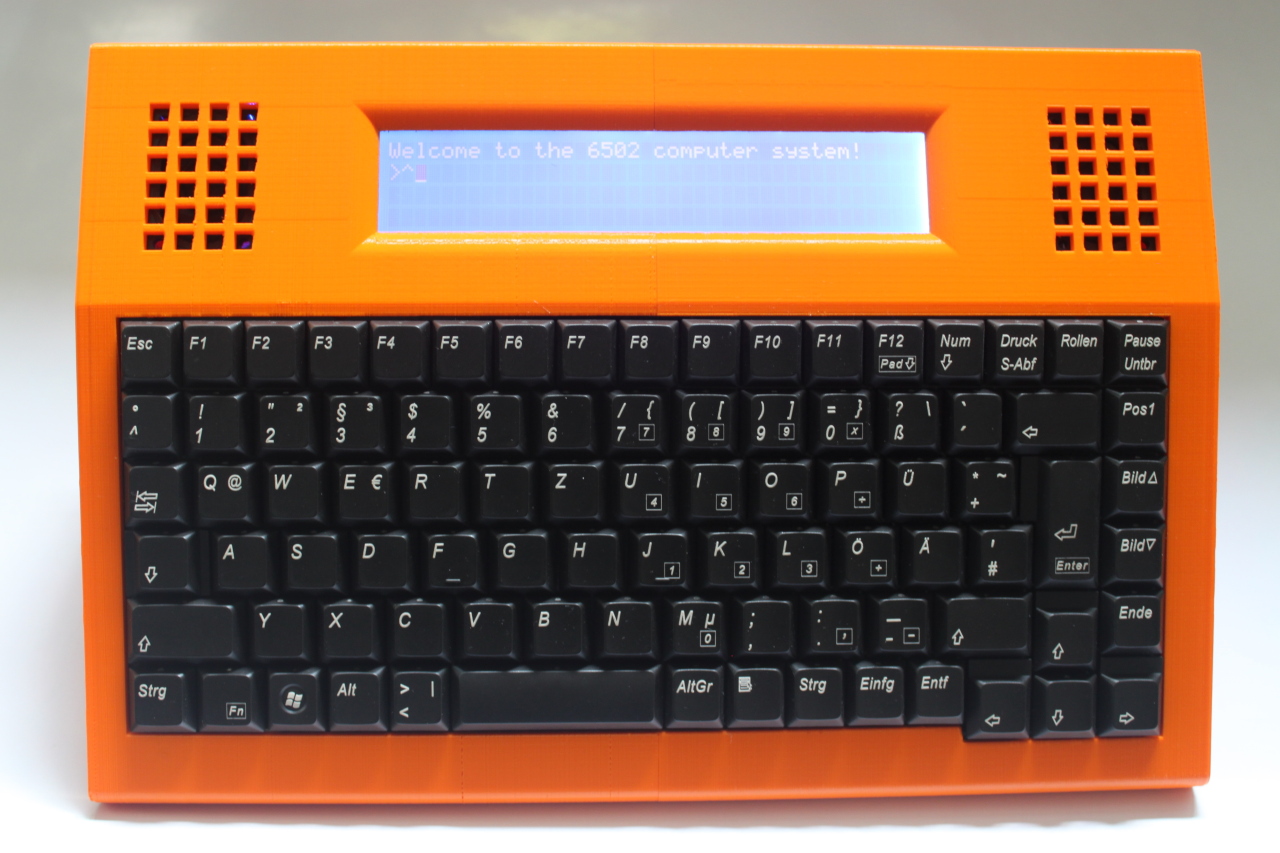
The following design is obviously inspired by computers like the C64C or the Amiga 500 . All components including the keyboard fit into a single case and since the circuit is battery powered, this shows how a C64 laptop computer might have looked like in the 80s.
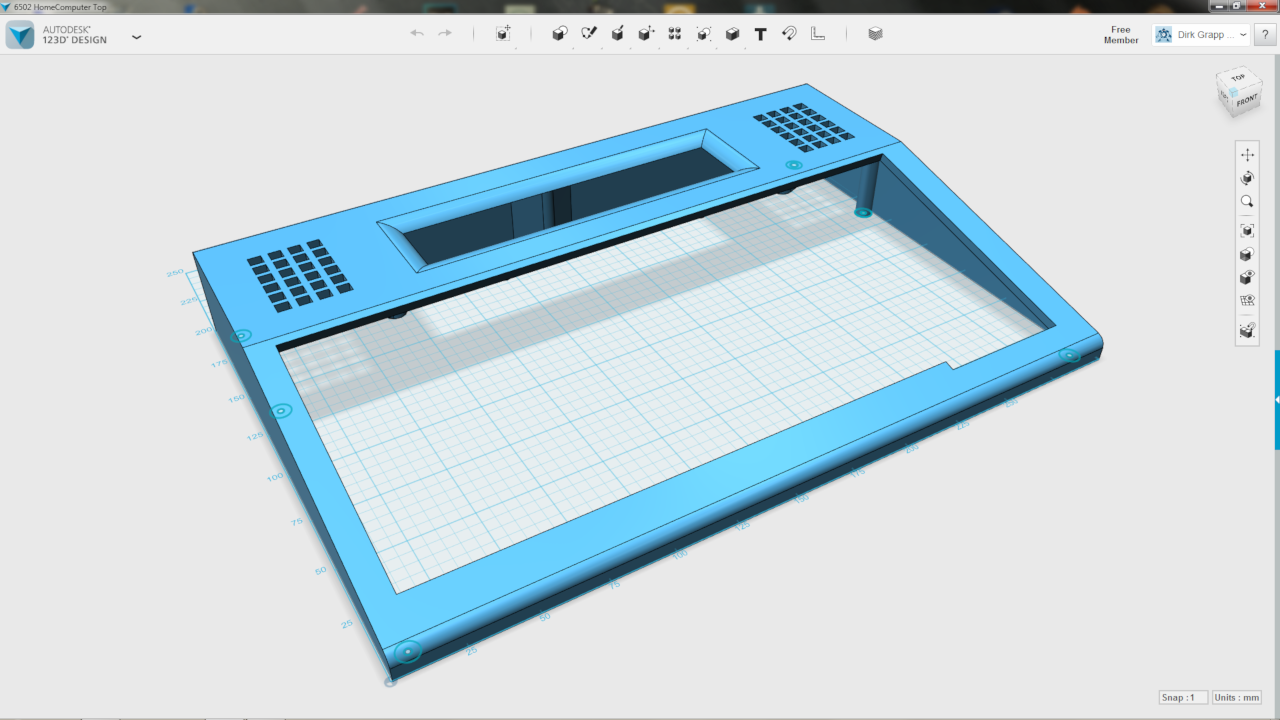
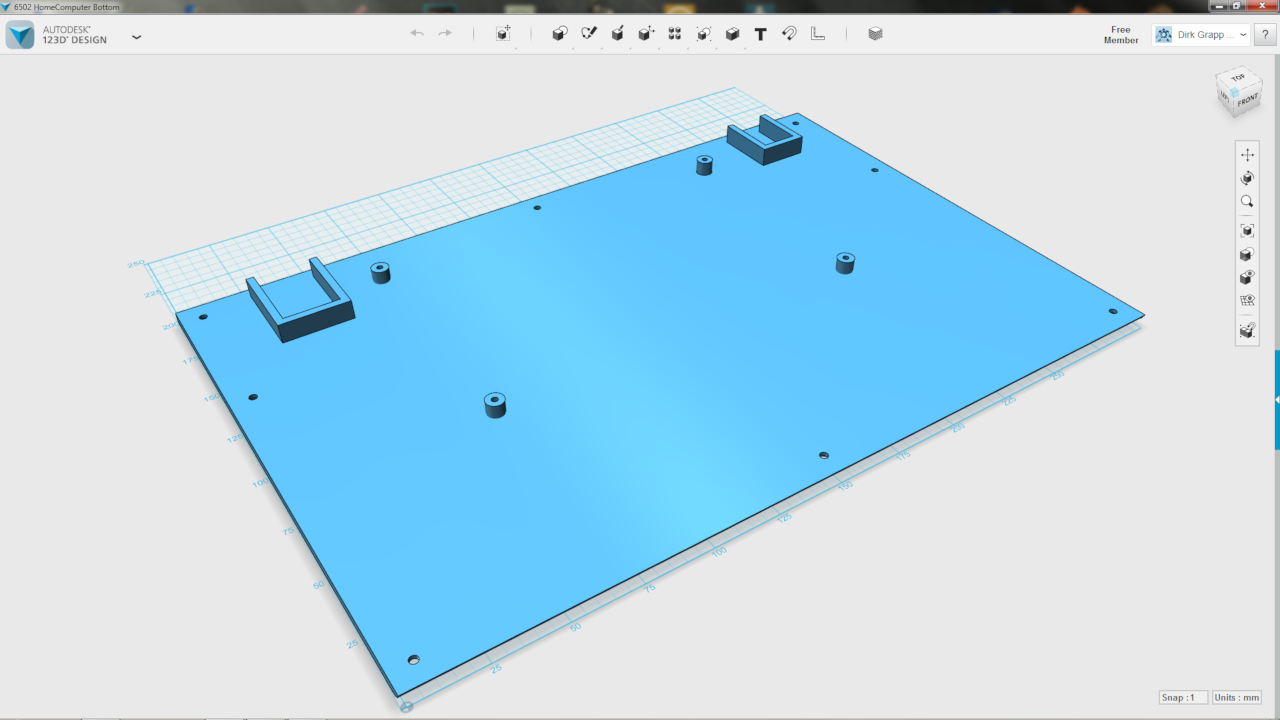
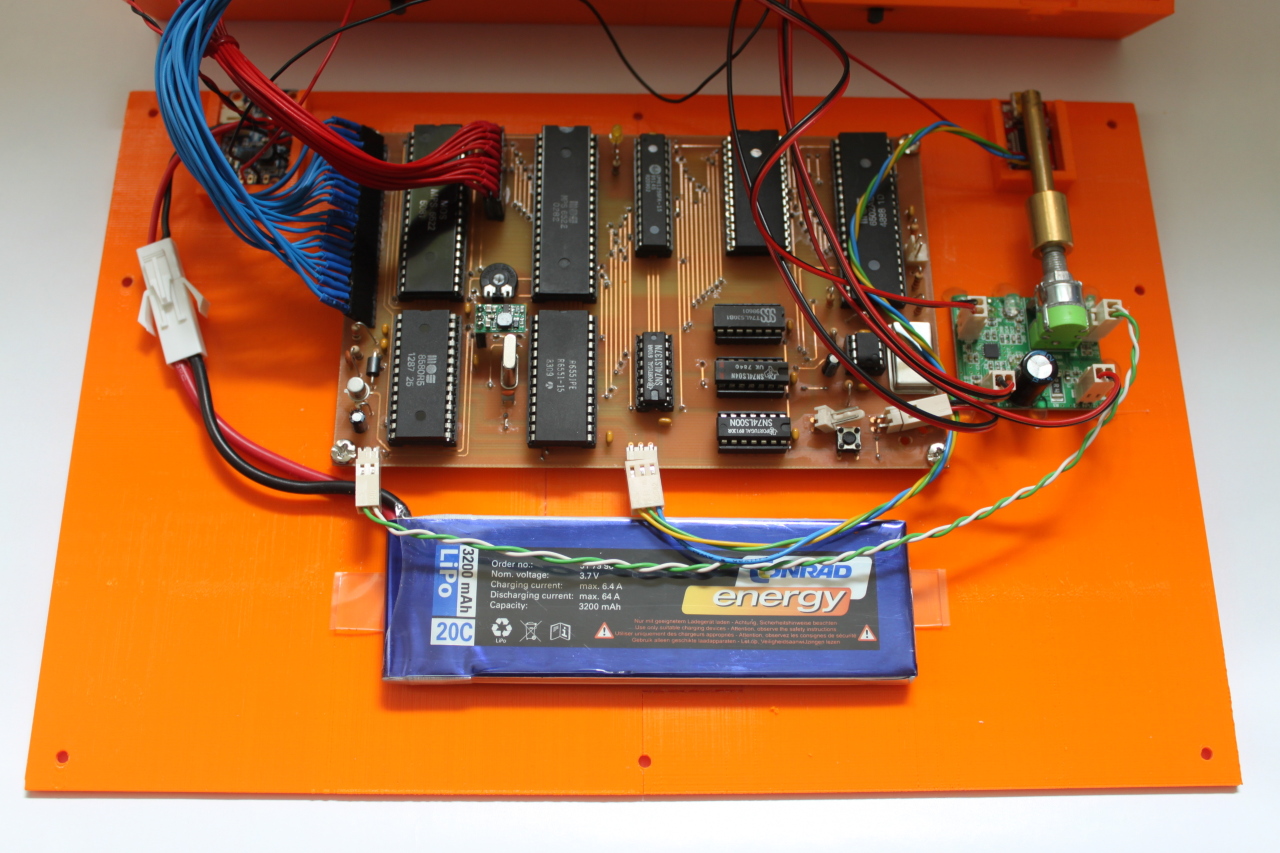
I used Autodesk 123D Design to design the case. It is made of a top and a bottom part which are screwed together (tip: make sure that you use a thread cutter for your screw holes!). The top holds the display, the keyboard and the two speakers. On the bottom part the circuit boards and the battery are mounted.
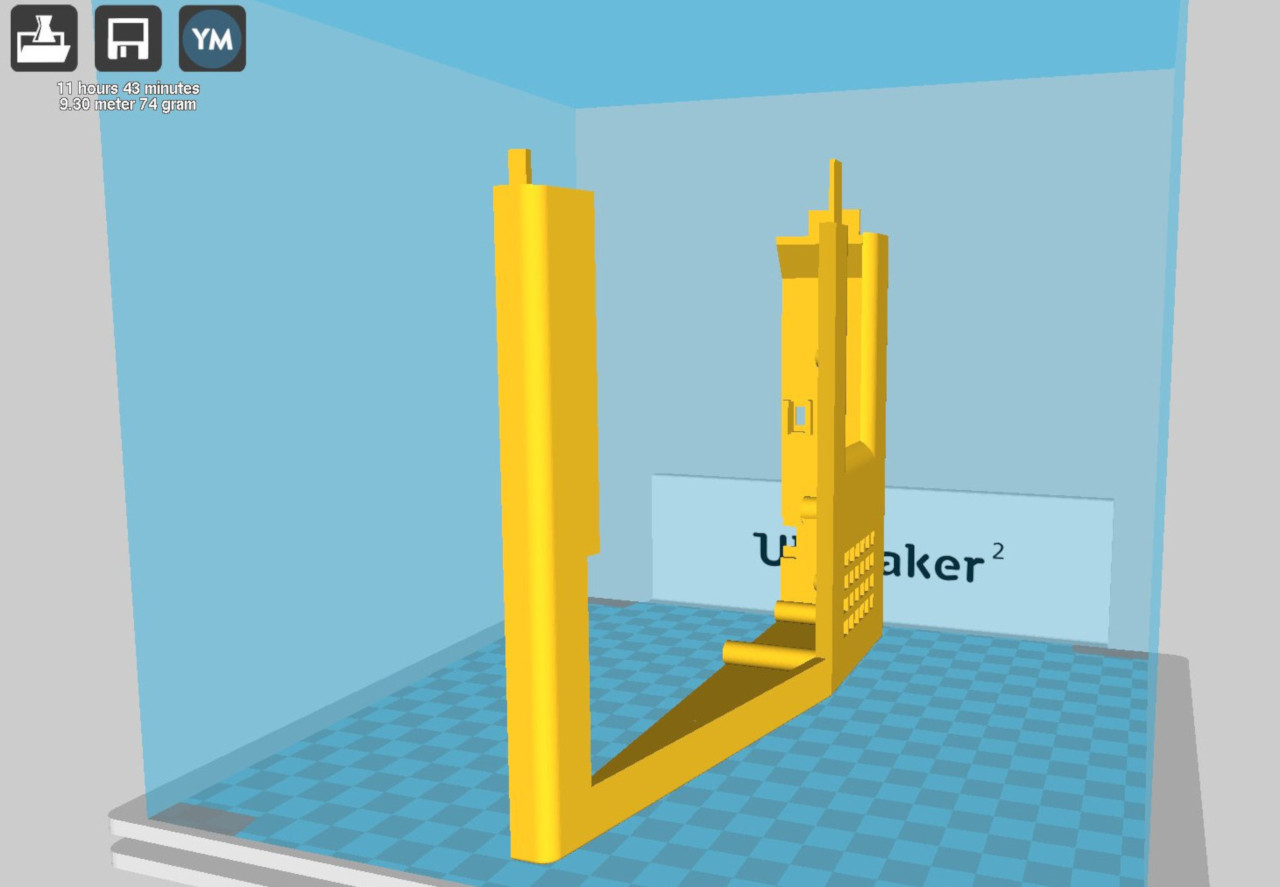
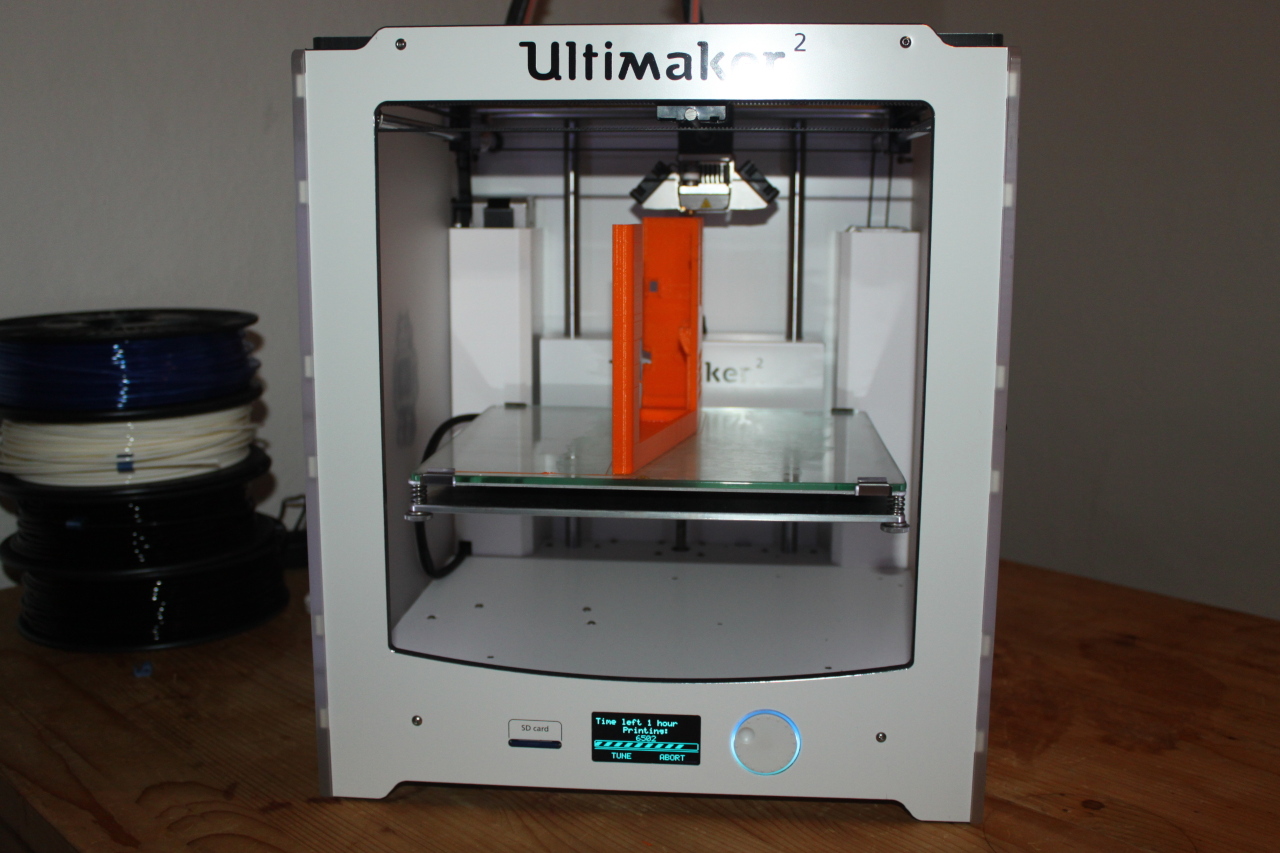
Since most 3D Printers don't have a print volume greater than 20 x 20 x 20 cm and the width of my case is 30 cm, i had to cut it in halve. In the following pictures you can see a screenshot of the G-code generation with Cura and the actual print of the top right part with my Ultimaker 2 :
After gluing the pieces together and mounting all parts, this is the final end result:
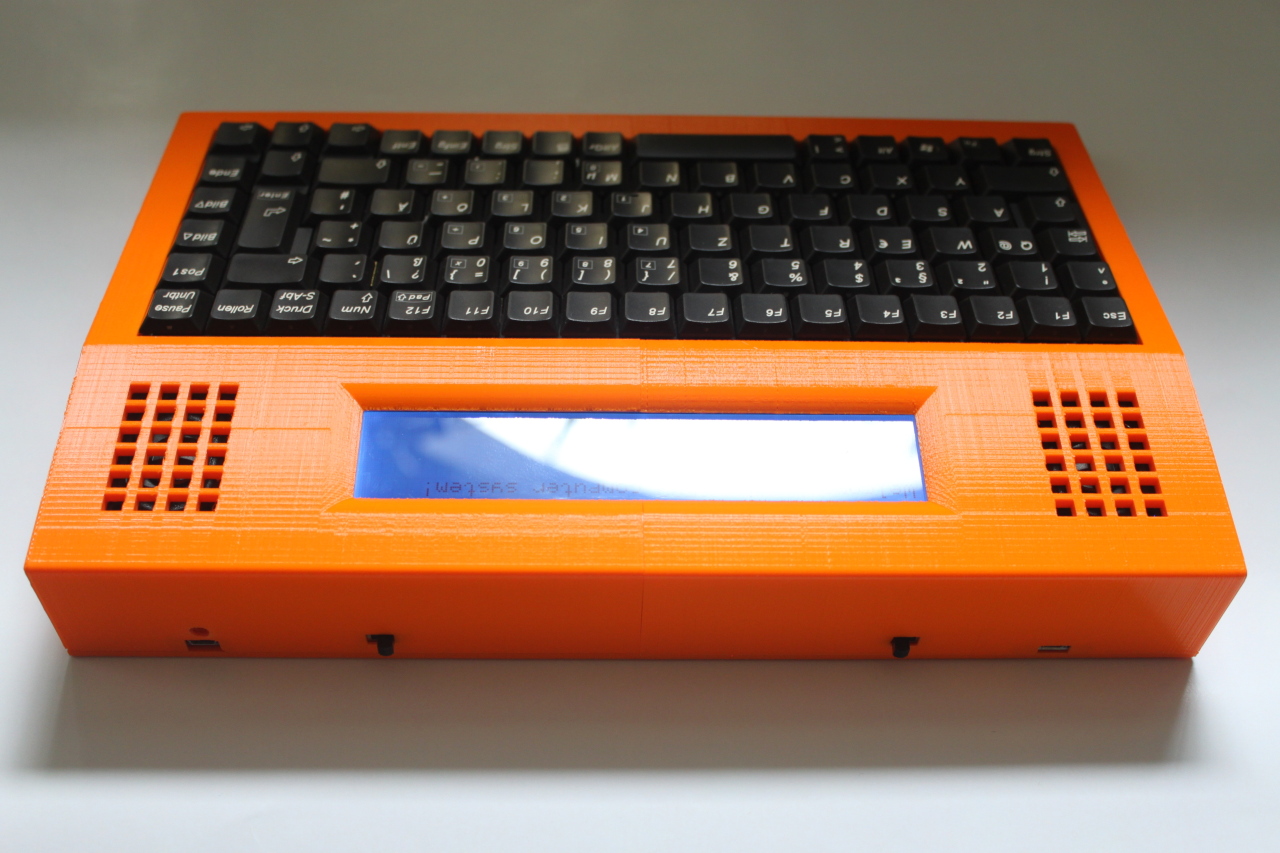
And here is a look inside:
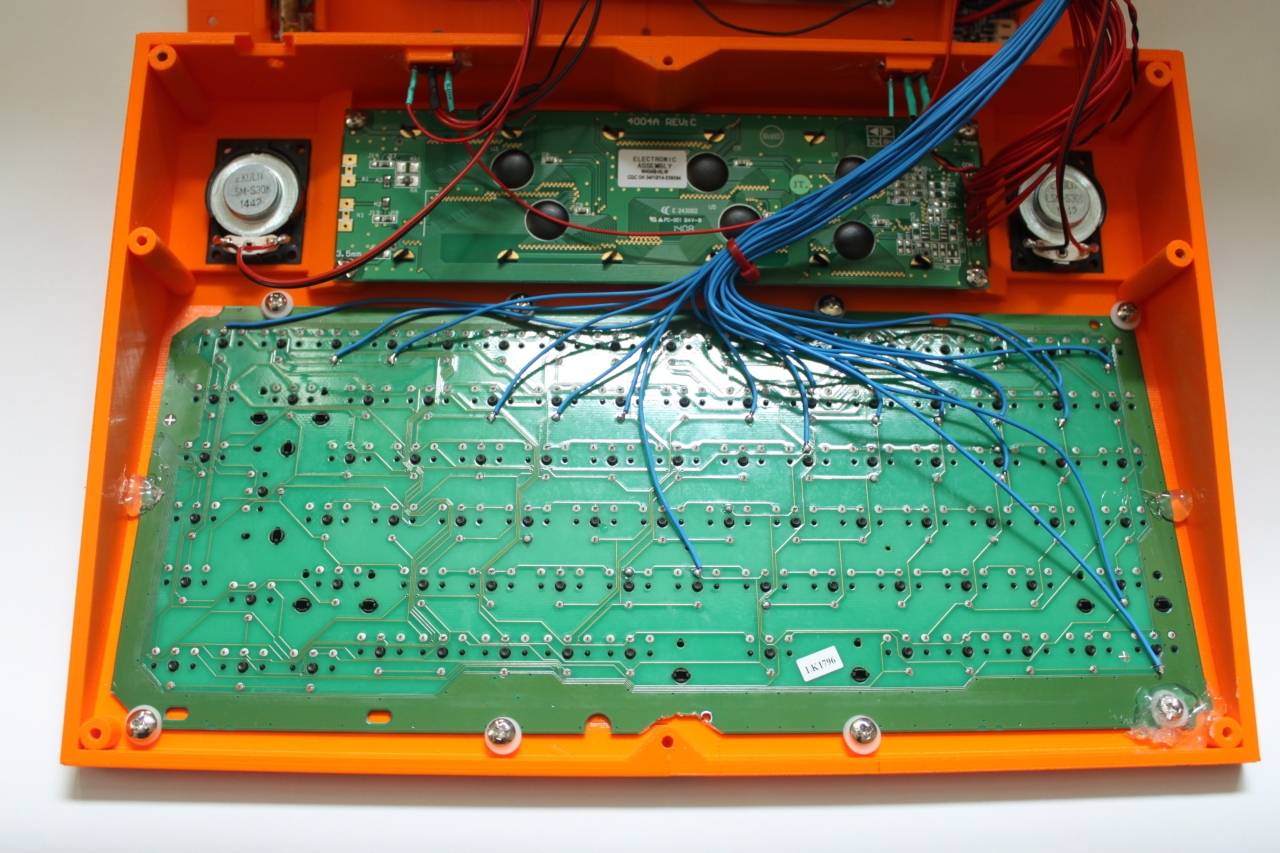
Later on I only made some minor modifications: The LED was removed from the PCB and glued in one of the speaker's mounting holes, the Fn and Windows keys were connected in series to the !RESET input and the Pause/Break key was connected to the !NMI input.