Caretaker Remote Control
A simple remote control for the Caretaker Home Automation System
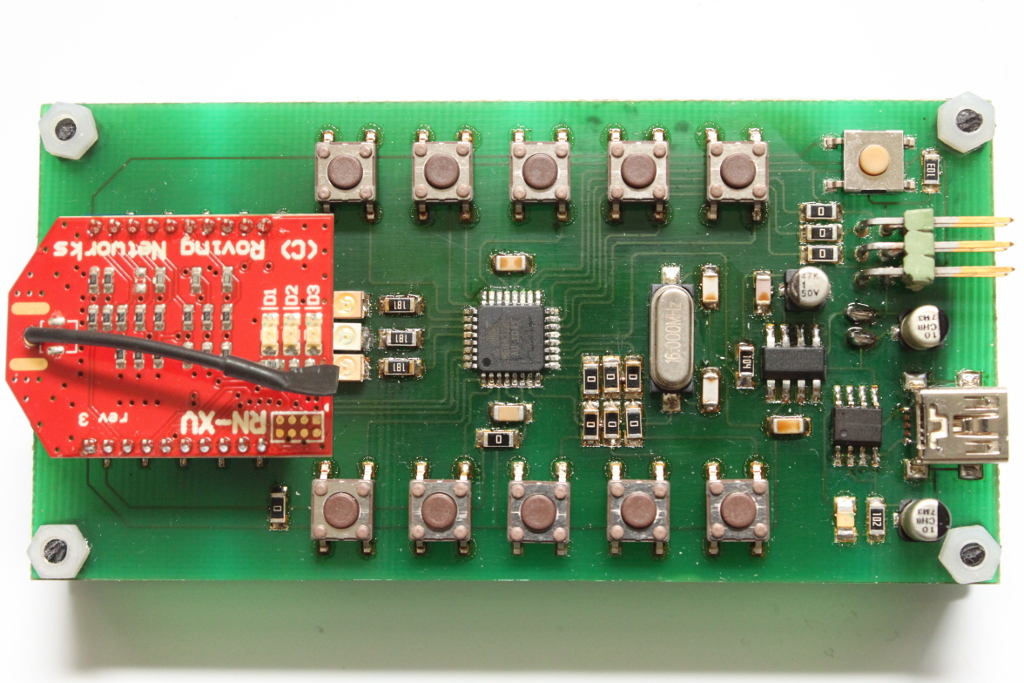
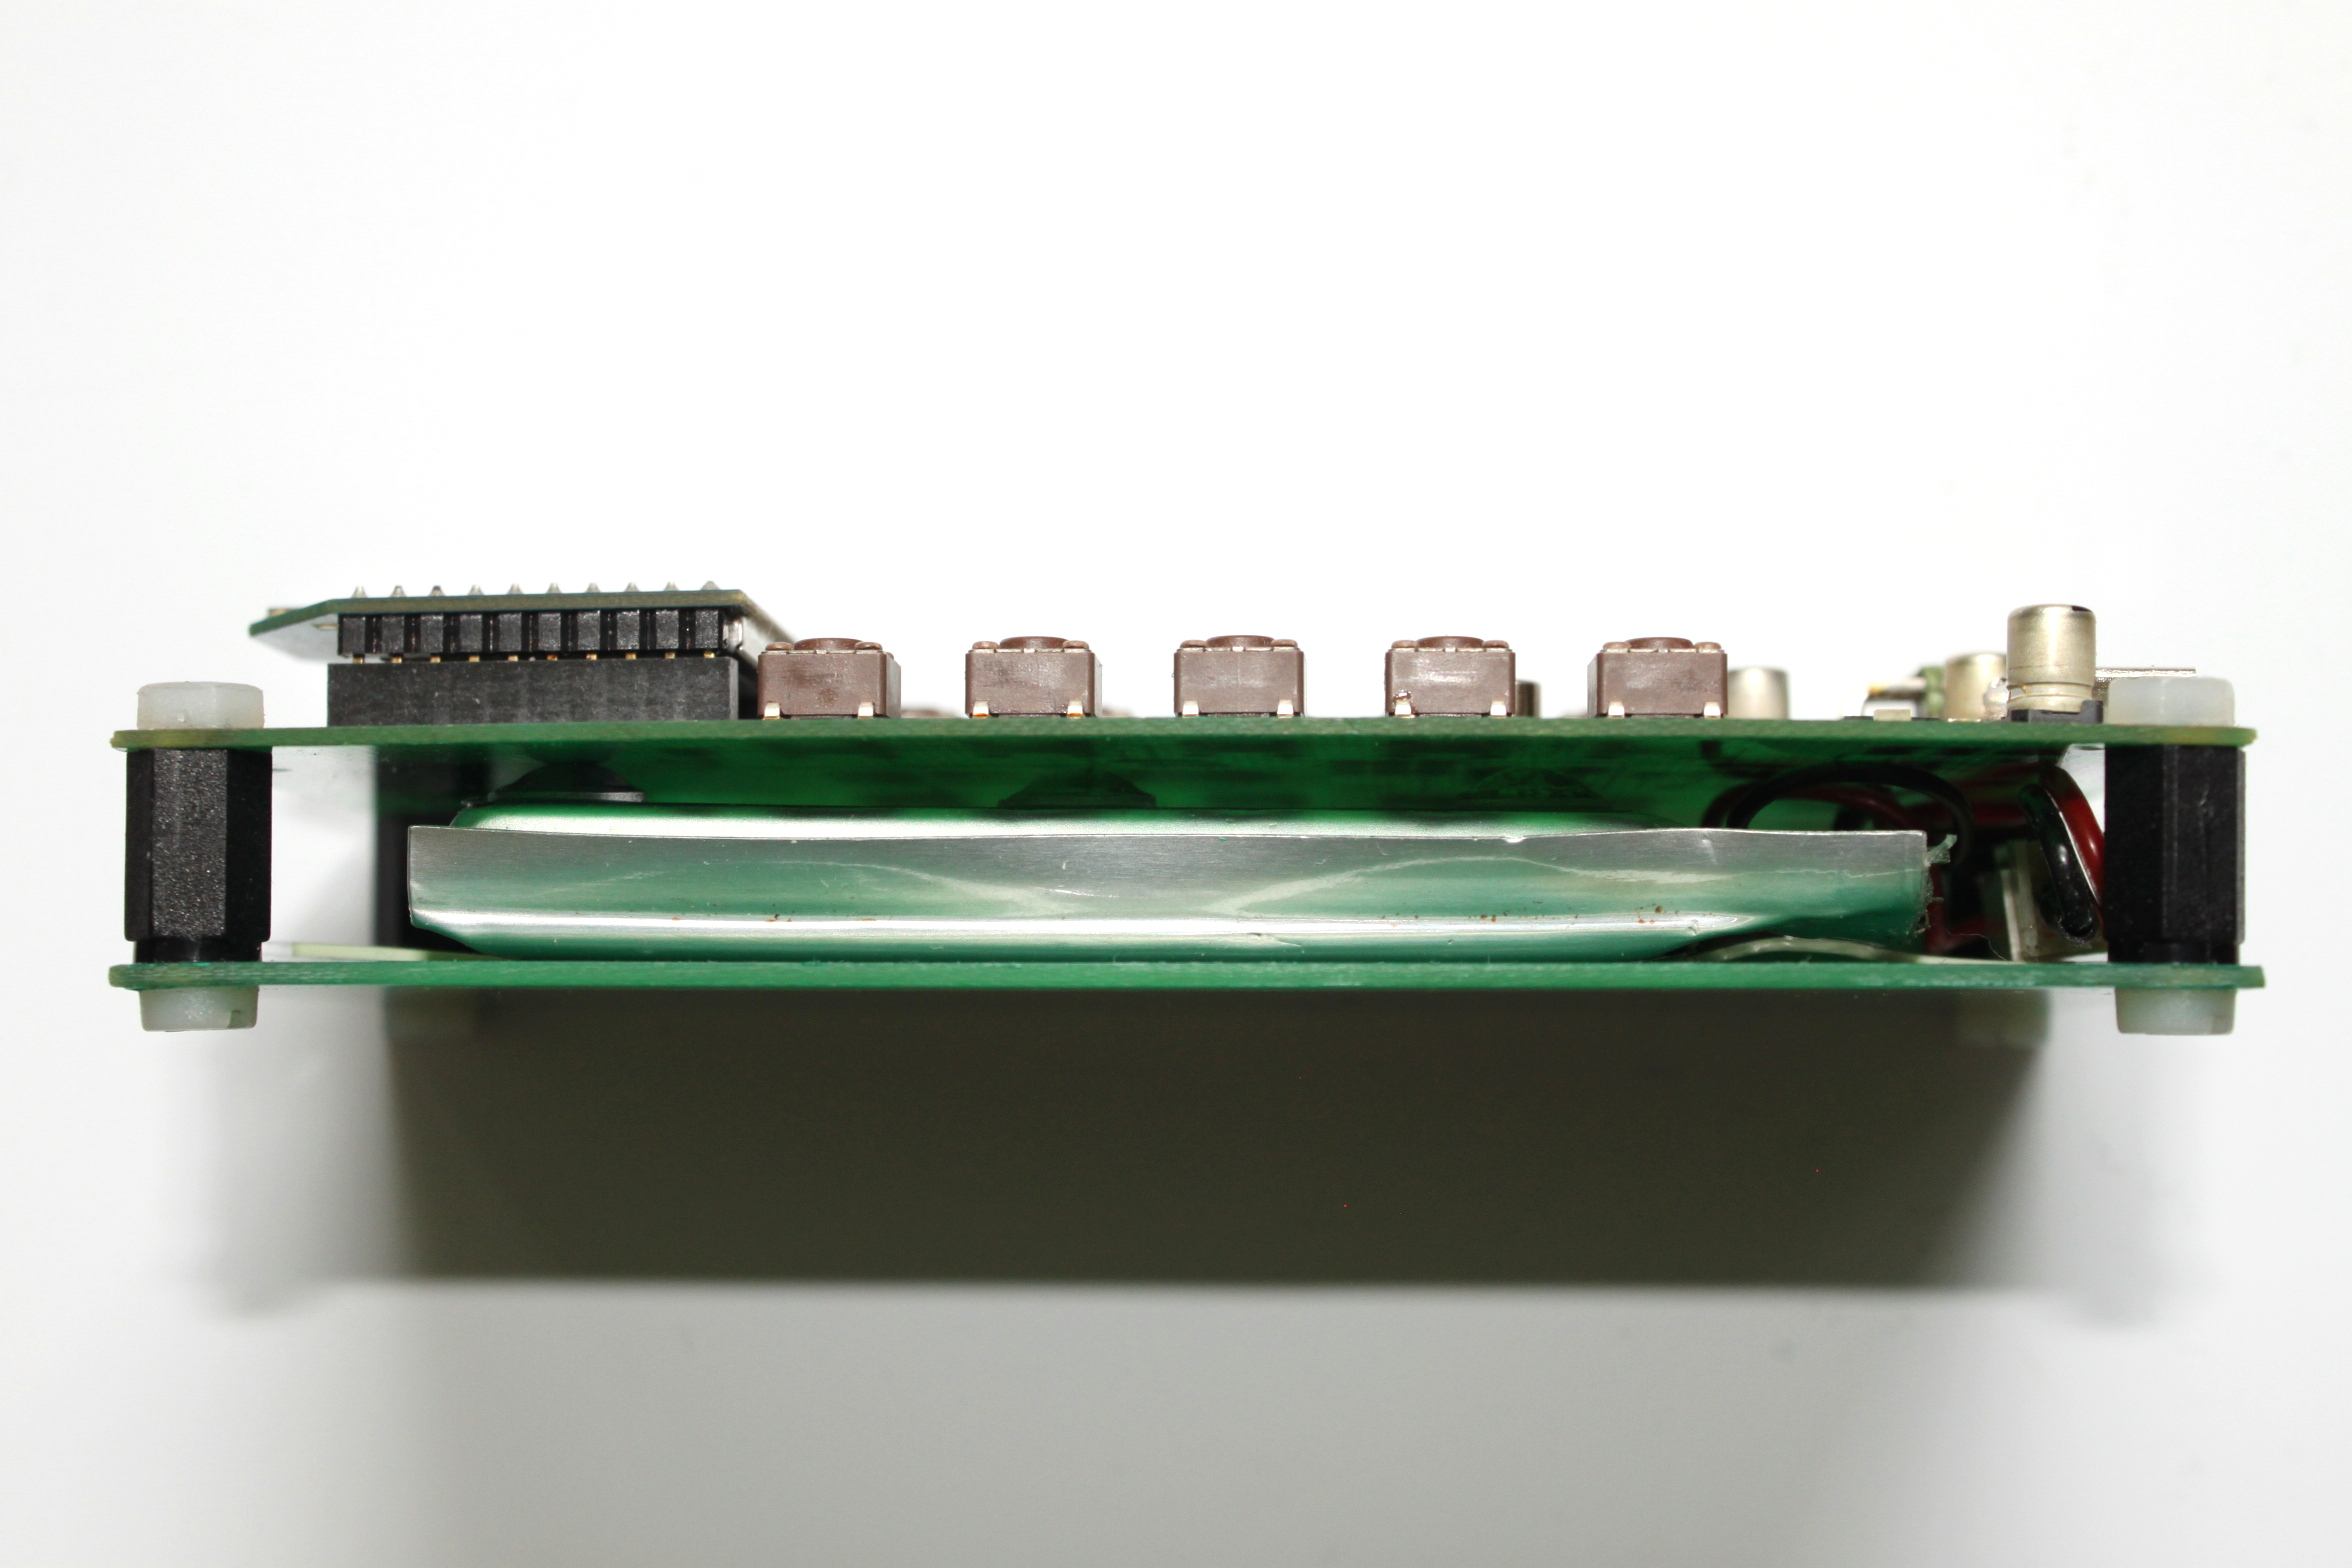
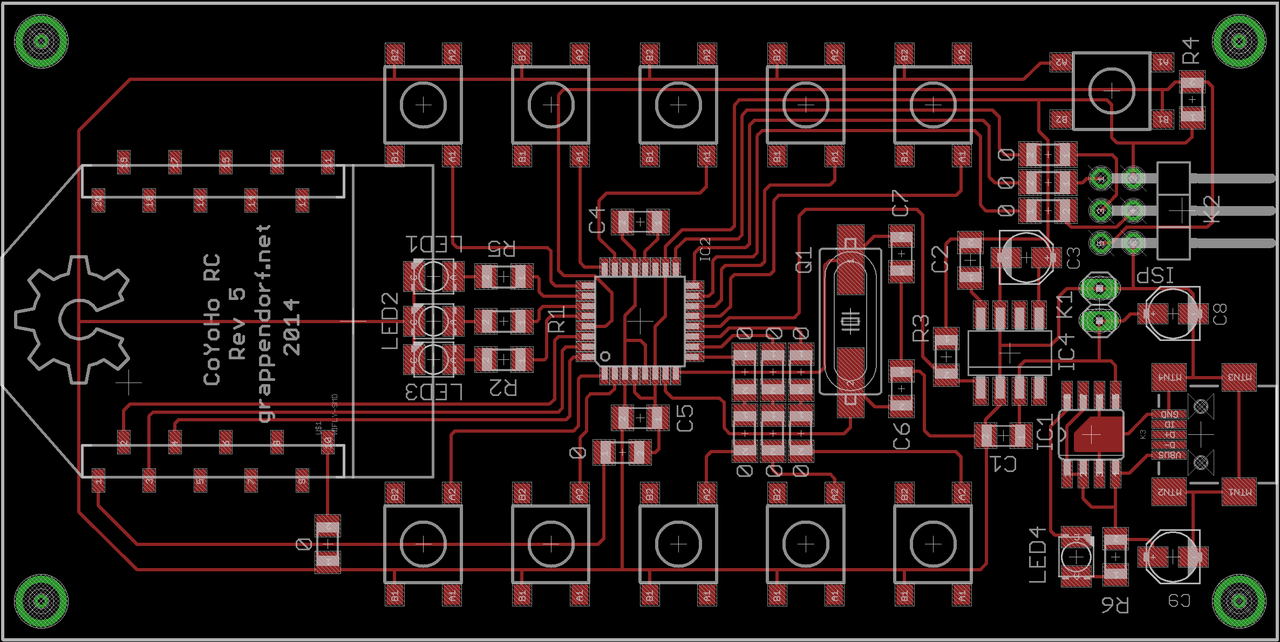
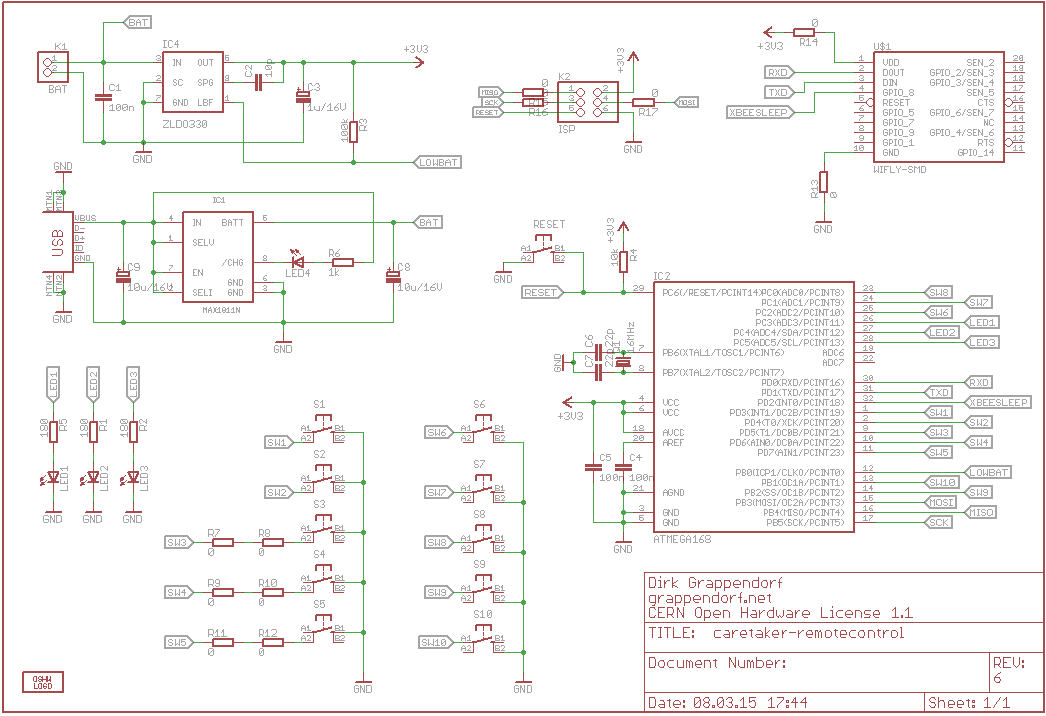
This is a simple remote control, consisting of an ATmeaga328P, a WiFly module, 10 push buttons, 3 LEDs, a LiPo battery and a LiPo charger. The first two pictures show the most recent version with an additional reset button and a PCB with soldermask lamination.
The ATmega was chosen, because the firmware is written with the Arduino framework. But the ATmega is not the best choice, when it comes to low power consumption. Using the deepest sleep mode of the ATmega, we need a current of approximately 660 µA. This is much more than today’s ultra low power micros would need.
To make this not quite as annoying, a 1500 mAh LiPo battery provides enough energy for this circuit to function for about 3 to 4 months. In order to simplify charging, a MAX1811 USB charger controller is added, so one can charge the remote control by simply connecting it to a (500 mA) USB port.
The circuit uses a 3.3 V supply voltage. Since the LiPo delivers 3.7 V, a voltage regulator with a very low dropout is needed. The ZLDO330 has a dropout of 30 mV when delivering 100 mA (100 mV at 300 mA), which is quite nice. It also has an integrated low battery detection, so you can directly connect a port pin to the ZLDO330 to inform the micro about a low battery condition.
Board and Schematics
Firmware
The current firmware is quite simple. After initialization, the ATmega is put into sleep mode. If one of the buttons is pressed, a pin change interrupt is triggered which ends the sleep mode.
-
 Project Files
The Caretaker source code is hosted at GitHub:
https://github.com/grappendorf/coyoho-devices
Subdirectory: caretaker-device-remotecontrol
It contains the source code and all Eagle (V6) PCB layout files.
Arduino and AVR Sleep Mode
The most importing thing when designing a battery powerd device is thinking about it's power consumption. The first step to accomplish this is to choose a microcontroller that is specifically optimized for low power consumption. I surely failed on this one, because there are much better parts like the PIC nanoWatt or AVR picoPower controllers. The next step is to reduce the clock speed. A higher clock speed means higher power consumption, since the current flows when the transistors are switching. I also failed here, since i am using the default clock speed for a Arduino circuit, which is 16 MHz. Last comes the sleep mode. Enabling a sleep mode also reduces the clock speed and turns of unused components of the controller.
My remote control only really needs on component running when in sleep mode: The pin change interrupt. If you press one of the keys, the remote control needs to leave the sleep mode, re-enable the other components (e.g. UART) and continue running it's firmware program. The following excerpt from the firmware code shows you how this is done on a ATmega328:
void setup () {
  // Other initializations
  // Use deepest sleep mode
  set_sleep_mode (SLEEP_MODE_PWR_DOWN);
  // Turn of all unused components
  power_adc_disable ();
  power_spi_disable ();
  power_twi_disable ();
  power_timer1_disable ();
  power_timer2_disable ();
}

void loop () {
  sleep_enable ();
  sleep_mode ();
  sleep_disable ();
  // Check which key was pressed
  // Send WiFly message to the server
  // Wait for awake timeout
}
Not shown here is the initialization of the PinChangeInt Library which is used to handle the pin change interrupts. The setup code tells the ATmega which sleep mode should be used when going to sleep. SLEEP_MODE_PWR_DOWN is the deepest sleep mode. The set_sleep_mode function only sets the mode, the program continues to run until we call sleep_mode. Then the program halts until an interrupt occurs and (after running the interrupt handler function) continues with the sleep_disable statement. Then we do what needs to be done when a key was pressed and the next time the loop function is called, the ATmega is sent back to sleep mode again.
Without enabling the sleep mode and shutting down unused components, the current drawn is about 7.7 mA. If we disable the ADC, SPI, TWI and timers, this is reduced to 6.5 mA. If we eventually enable the power down sleep mode, the current drawn is only 660 µA.
References:
http://www.mikrocontroller.net/articles/Sleep_Mode
http://www.arduino.cc/playground/Main/PinChangeInt
WiFly sleep mode
Without using the sleep mode of the WiFly module, the remote control circuit draws a current of about 45 mA (plus 180 mA when it is transmitting data). When we enable the sleep mode (i am using the automatic timer sleep), the current drawn is 980 µA when both the ATmega and the WiFly go to sleep.
| Mode | Current |
| ATmega power on, all components enabled, WiFly on | 47 mA |
| ATmega power on, unused components disabled, WiFly on | 45 mA |
| ATmega powered on, unused components disabled, WiFly sleep | 6.8 mA |
| ATmega sleep, WiFly sleep | 980 mA |


